
Last updated October 31, 2026
 Architectural shingles
 Metal roofing
 Tile roofing
 GAF
 Owens Corning
 Flat & low-slope
Free roof inspection with deck photos before we talk money - GAF and Owens Corning certified installation
Roof Repair Troubleshooting: Common Problems and How to Fix Them
Here’s something most homeowners don’t realize until they’re standing in a soggy attic: the brown stain on your ceiling is a lie. It tells you where the water ended up, not where it got in. Water follows gravity, but it also follows wood grain, sheathing seams, and the path of least resistance. By the time it drips onto your insulation or sheetrock, it may have traveled six, eight, even twelve feet from the actual breach in your roof. We’ve traced leaks in Huntington Beach homes where the homeowner was convinced the problem was above the bedroom window, and the real entry point was a failed pipe boot near the ridge line. This guide teaches you to trace water back to its source so you fix the right thing the first time. Because a patch on the wrong spot doesn’t stop the leak. It just gives the water more time to rot something else.
Styles & brands we work with
Quick Answer
Roof Repair services start with tracing the water, not treating the stain. The most common failure points on Huntington Beach homes are pipe boot seals, step flashing at dormers, ridge cap adhesion, valley metal laps, and nail pops. Before calling a contractor, check those five spots first. If you can’t access the attic safely or the leak persists after a targeted fix, call a roofer. Most repairs fall between $200 and $600 for small fixes, while flashing and valley work runs higher.
Table of Contents
- The Tracing Method: How to Find the Real Leak
- The Five Most Common Failure Points on Huntington Beach Roofs
- Condensation vs. Active Leak: Don’t Fix the Wrong Problem
- Temporary Fixes That Actually Hold (and Ones That Don’t)
- Nail Pops: Cosmetic or Structural Warning Sign?
- How Roof Material Affects Failure Patterns
- Repair Steps by Problem Type
- Common Mistakes to Avoid
- When to Call a Professional
- Frequently Asked Questions
- The Bottom Line
The Tracing Method: How to Find the Real Leak
You need three things: a garden hose, a second person, and a bright flashlight. That’s it. The process is methodical, not magical. You’re going to systematically wet sections of the roof while your partner watches from inside the attic. The person inside needs the flashlight aimed at the underside of the roof deck, watching for the first glint of water. Here’s the step-by-step.
- Start from the lowest point. Begin at the eave line near where the interior stain appears. Have the hose person stay in one spot for three to four minutes minimum. Water takes time to penetrate a small breach, travel along a rafter, and become visible inside.
- Move up in sections. After three or four minutes with no water, move up the roof about four feet and repeat. Work your way toward the ridge. The key is patience. Rushing this process produces false negatives.
- Isolate roof features. Pay special attention to anything that penetrates the roof: pipes, vents, skylights, chimney bases, dormer intersections. These are the statistical heavy hitters. If you have a pipe boot nearby, soak that area thoroughly before moving on.
- Watch for the slow weep. Active leaks from small penetrations don’t pour. They weep. The person inside may see a slow darkening of the wood, a bead of water forming on a nail shank, or a glisten along a seam. Any of those counts.
- Mark the spot. Once you find it, mark it clearly. Spray paint on the underside of the deck works. Take a photo with your phone for reference. When a roofer arrives, you can show them exactly where the water entered.
This method works because it reverses the leak. Instead of guessing from the inside stain, you’re watching the entry point in real time. In our experience with Huntington Beach homes, most homeowners who do this correctly are surprised by how far the water traveled. It’s almost never directly above the stain.
The Five Most Common Failure Points on Huntington Beach Roofs
Huntington Beach presents a specific set of conditions. Salt air, intense UV exposure, and the occasional heavy winter storm cycle all take their toll. Certain roof components fail more often than others. Here’s what we see most frequently.
1. Pipe Boot Seals
The rubber boot around plumbing vent pipes is one of the most frequent leak sources on any roof, but Huntington Beach’s UV exposure accelerates rubber degradation. The boot cracks, the metal flange separates, and water follows the pipe right into the attic. You’ll see the visual clue from the ground: a cracked, chalky, or split rubber collar. If the rubber looks like a dry lakebed, it’s done.
Fix: The boot replacement is straightforward. A roofer removes the surrounding shingles, pries off the old boot, installs a new one with proper sealing at the flange, and re-installs shingles. Cost typically runs $150 to $350 depending on pipe location and roof pitch.
2. Step Flashing at Dormers
Dormer intersections are a classic weak point. The step flashing that should be woven between each shingle course at the dormer wall is often missing, insufficient, or pulling away. Water runs down the dormer wall, hits the gap, and travels sideways into the roof system. The interior stain may show up well away from the dormer itself.
Fix: Proper repair means removing the shingles along the dormer intersection, inspecting the step flashing, and either re-sealing or replacing it. This is not a caulk-from-the-outside job. The flashing needs to be integrated with the shingles. Budget $400 to $800 for a typical dormer.
3. Ridge Cap Adhesion
The ridge cap is the shingle course that covers the very top of the roof. In Huntington Beach, we see ridge caps that were nailed down but never properly sealed, or sealed with a substandard adhesive that failed after a few seasons of heat and wind. When the ridge cap lifts, water enters along the ridge line and travels down rafters. The attic stain often appears at mid-span or lower, which confuses the diagnosis.
Fix: Re-nailing and re-sealing the ridge cap is a focused repair. Depending on how much of the ridge is affected, expect $250 to $600. If the ridge cap is deteriorated across most of the roofline, a full ridge replacement may be the better call.
4. Valley Metal Laps
Valleys are where two roof planes meet. If your home has a metal valley system, the laps between metal sections are a vulnerable point. Years of thermal expansion and contraction can break the seal between laps. Water finds the gap, runs under the metal, and enters at the valley’s low point. Huntington Beach homes with steeper roof pitches and older valley metal installations are particularly susceptible.
Fix: Repair typically involves cleaning the valley, re-sealing laps with the correct sealant, and checking for deteriorated underlayment beneath. If the metal itself is corroded through, replacement of the valley section is needed. Plan on $300 to $700 for repair, more for full valley replacement.
5. Nail Pops
Nail pops are shingles that have a visible bump or raised spot, usually from a nail that backed out due to wood movement or improper installation. The exposed nail head becomes a water entry point. On their own, nail pops are minor. In clusters, they tell a bigger story. More on that later in this guide.
Fix: Individual nail pops are cheap to address. A roofer removes the raised nail, reseats a new nail correctly, and seals the shingle. $75 to $200 depending on how many you have. The caveat: if you’re seeing nail pops across a wide area, the issue may be systemic.
Condensation vs. Active Leak: Don’t Fix the Wrong Problem
Here’s a scenario we see regularly in Huntington Beach: a homeowner finds moisture in the attic during a dry week, assumes it’s a roof leak, and calls for a repair. For Roofing Emergency Preparedness Guide for Huntington Beach Homes, see our dedicated resource. The roofer gets up there, inspects carefully, and finds… nothing. No breach, no damaged flashing, no missing shingles. The real culprit is condensation. This matters because the fixes are completely different. You cannot patch your way out of a ventilation problem.
How to tell them apart:
- Timing pattern: Condensation appears during temperature swings, typically in the morning and during cool, humid nights. Active leaks show up during or immediately after rain.
- Distribution: Condensation is widespread. You’ll see moisture on many surfaces, not a single wet channel or stain. Active leaks typically follow a defined path.
- Nail glistening: In condensation situations, the nails poking through the decking glisten with moisture. This is a classic tell. The nails act as conductors of cold, and moisture accumulates on them first.
- Underlayment condition: Active leaks saturate the underlayment in a localized area. Condensation creates a uniform dampness across a broader zone.
If it’s condensation, the fix is ventilation and insulation work, not a roof patch. Adding soffit vents, ridge vents, or balancing the attic air exchange usually resolves it. A roof inspection will confirm which problem you have before any repair money is spent. That’s why we recommend Roof Inspection in Huntington Beach as a standalone first step when the diagnosis isn’t obvious.
Temporary Fixes That Actually Hold (and Ones That Don’t)
When a leak is active and rain is in the forecast, a quick temporary fix can buy you time until a roofer can complete a proper repair. But not all emergency measures are equal. Some actually stop water. Others give you a false sense of security while making the permanent fix harder.
What Actually Works
- Polyethylene tarp (6 mil or heavier) installed properly: The tarp must extend past the damaged area by at least three feet on all sides and be secured with furring strips screwed through the tarp into the roof deck, not just bricks or loose boards. A properly secured tarp will get you through a rain event. This is the gold standard for temporary coverage.
- Roofing cement applied to the visible entry point: If you have positively identified a small breach, such as a nail pop or a minor flashing gap, a liberal application of roofing cement can stop water temporarily. Use it only if you can see the actual hole.
- Pipe boot repair collar: If the rubber boot is cracked but the metal flange is still sound, a specialty pipe boot repair collar that slides over the existing boot and seals to the pipe can hold for months, not just days.
What Makes It Worse
- Spray sealant applied indiscriminately: Spraying entire sections of roof with a can of rubberized sealant creates a mess that a roofer must then clean and strip before doing the real repair. It adds labor cost and does not reliably stop water at the source.
- Tarps anchored with loose objects: A tarp held down by bricks, two-by-fours, or lawn furniture will lift in a breeze and tear. Worse, it can slide and damage shingles further.
- Caulk stuffed into flashing gaps from the outside: Squeezing silicone caulk into a flashing joint from a ladder looks like progress. It rarely stops water because the capillary action behind the flashing continues. When the roofer arrives, they have to dig out the caulk before they can do the job correctly.
- Interior buckets and tarps only: Catching the water inside prevents sheetrock damage, but it does nothing to stop the water from traveling through the roof system and rotting sheathing or rafters. Every hour of unaddressed water flow is doing structural damage you can’t see.
If you’re not sure whether your temporary measure is holding, call before the next storm. Roof Repair in Huntington Beach includes a focused assessment of whether the temporary fix needs to become permanent.
Nail Pops: Cosmetic or Structural Warning Sign?
A single nail pop is a minor nuisance. A pattern of nail pops tells you something about the installation. Understanding the difference helps you make an informed repair decision.
When a shingle nail backs out, it means the nail has lost its grip. This happens for a few reasons. The most common is improper installation: the nail was driven too shallow or at the wrong angle, or it missed the framing member and hit only the sheathing. Thermal expansion then works it loose over time. Another cause is deck movement. If the plywood or OSB is flexing due to moisture or structural settling, nails can pop. In Huntington Beach’s marine air, deck movement from humidity cycles is a real factor on older homes.
The diagnostic question is simple: how many nail pops do you see, and where are they?
- One or two isolated pops: Cosmetic. Fix them individually and move on.
- Multiple pops in a vertical line: This often indicates a truss or rafter issue. The wood member may be moving more than it should, or the original nails were driven along a consistent line where the framing sits slightly proud of the deck surface.
- Pops spread across an entire roof plane: This is a fastener pattern failure. The entire plane may need re-nailing across the affected area. This happens when the original install used too few nails per shingle, nails that were too short, or the wrong type. A full re-nail is the real fix. Patching individual pops on a roof plane that wants to let go is just whack-a-mole.
If you’re seeing more than a handful of nail pops, get a roofer to assess the fastener pattern before you spend money on individual repairs. The assessment often changes the repair recommendation. And if the pops are widespread enough, the conversation may shift from repair to Roof Replacement in Huntington Beach. Not because anyone wants to upsell you, but because re-nailing an entire plane and replacing every broken shingle can approach the cost of new roofing on an older roof.
How Roof Material Affects Failure Patterns
The material on your roof changes what fails, how it fails, and when. Here’s a breakdown by common roofing types in Huntington Beach.
Asphalt Shingles
The dominant material in the area. Asphalt shingles fail through granule loss, blistering from trapped heat, and seal strip failure at the windward edges. The specific brand affects durability more than homeowners realize. A builder-grade shingle from Tamko’s entry line has a different lifespan than a premium CertainTeed or GAF system. That doesn’t mean the cheaper shingle is a bad roof. It means it has a different maintenance horizon. Seven brands. One contractor. That’s the advantage of a contractor who isn’t locked into a single manufacturer’s product line.
Concrete and Clay Tile
Tile roofs don’t fail the way shingle roofs do. The tiles themselves can last decades, but the underlayment beneath breaks down. Tile roofs also suffer from broken tiles from foot traffic, which opens a direct path for water. Repair on tile requires care: walking on tile incorrectly breaks more tile than it fixes.
Flat or Low-Slope Sections
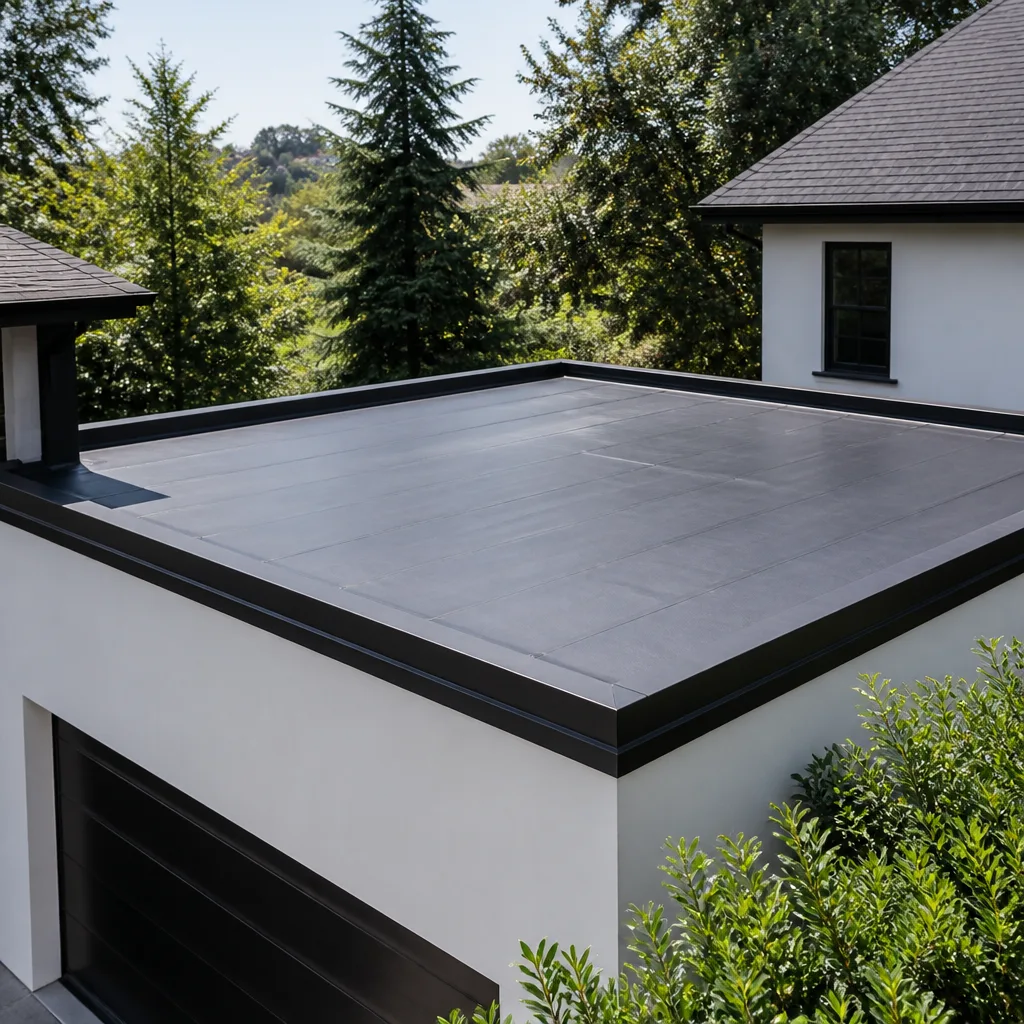
Many Huntington Beach homes have flat or low-slope sections over additions, patios, or garages. These use membrane systems rather than shingles. The failure point is almost always at seams, penetrations, or pooling areas. Standing water on a flat roof accelerates membrane breakdown dramatically.
When material choice matters, having options helps. We work with GAF, CertainTeed, Owens Corning, IKO, Atlas, Tamko, and Boral. That means the material recommendation follows the roof’s needs and the budget, not what happens to be in the warehouse. If one brand is backordered or isn’t the right fit for coastal conditions, alternatives are immediately available.
Repair Steps by Problem Type
The following repair sequences assume the problem has been correctly identified. If you’re not sure, start with the tracing method from the first section.
Pipe Boot Repair: Step-by-Step
- Access the pipe. The roofer identifies the pipe location from the attic and marks it, then accesses the pipe from the outside. This avoids working on the wrong penetration.
- Expose the flange. Shingles around the pipe are carefully lifted or removed. The goal is to access the underlayment and the existing boot flange without damaging surrounding shingles.
- Remove the old boot. The old boot is pried off. The roofer checks the deck around the pipe for rot or damage. If the deck is soft, that section is cut out and replaced before the new boot goes on.
- Install the new boot. The new boot slides over the pipe and seats against the roof deck. The metal flange is sealed and fastened. The rubber collar is checked for a tight fit on the pipe.
- Re-install shingles. Replacement shingles are woven back into the surrounding area, sealed, and nailed per manufacturer spec.
Flashing Repair at a Dormer: Step-by-Step
- Remove shingles at the intersection. The roofer removes shingles along the dormer wall and the adjacent roof plane to expose the existing flashing.
- Inspect the existing step flashing. Step flashing should be woven one piece per shingle course. If pieces are missing or deteriorated, they’re replaced. If the flashing is sound but the seal failed, re-sealing is sufficient.
- Re-install step flashing. New step flashing is woven into the shingle courses. Each piece overlaps the previous and tucks behind the dormer siding or stucco.
- Replace the shingles. The roof plane shingles are reinstalled over the flashing. Counter-flashing or kick-out flashing may be added at the base of the dormer wall to direct water away.
- Seal and test. The roofer seals all exposed fasteners and checks the water path with a hose before finishing.
Ridge Cap Repair: Step-by-Step
- Identify the affected ridge length. The roofer checks the ridge from the ground and the attic to identify which sections are lifting.
- Remove loose ridge caps. Lifted ridge cap shingles are removed carefully. The roofer checks the nails and the seal strip condition.
- Re-nail or replace. If the caps are in good shape, they’re re-nailed and re-sealed. If they’re cracked or brittle, new ridge cap shingles are cut and installed.
- Seal the ridge. A continuous sealant or adhesive strip is applied along the ridge before the caps go back down. This is the key step that prevents future lift.
Common Mistakes to Avoid
- Patching the interior stain without fixing the roof entry point. Repainting a ceiling stain makes the house look fixed while water continues to move through the roof structure. The stain is the symptom, not the problem.
- Using the wrong sealant for the material. Silicone caulk and asphalt roofing cement are not interchangeable. Using the wrong product on a shingle or flashing joint creates a seal that fails quickly and complicates the eventual professional repair.
- Assuming a dry day means the problem resolved itself. Roof leaks don’t self-heal. A dry spell just means the water isn’t entering at that moment. The next rain will find the same gap.
- Ignoring small stains because they’re “not that bad.” Small active leaks become large structural problems over time. Rot doesn’t care about your repair budget.
- Walking on a tile roof without knowing how. Tile roofs require specific walking patterns to avoid breaking perfectly good tiles. A well-meaning homeowner can cause hundreds of dollars in tile damage while trying to investigate a leak.
- Hiring a repair contractor who doesn’t offer replacement. When a roofer only does repairs, they may recommend repair even when replacement is the better financial call. A full-cycle contractor can tell you honestly which one makes sense. From the first inspection to the final shingle, the same team should own the outcome.
- Skipping the inspection before the repair. Repair without diagnosis is guesswork. We inspect first, recommend second. It’s the sequence that protects the homeowner from paying for the wrong fix.
When to Call a Professional
Some repairs are reasonable for a capable homeowner with the right tools and ladder safety. Others are not. Call a roofer when any of these apply: the leak source remains unidentified after a thorough tracing attempt; the repair requires working on a steep or multi-story roof; the damage involves structural decking, not just shingles; you see widespread nail pops or shingle failure across a roof plane; the roof is tile and you’re not trained to walk on it; or the leak has been active long enough that hidden rot is likely. In Huntington Beach, you can get a professional assessment without committing to a full repair. Huntington Beach Roofers home services include standalone inspection that gives you an honest condition report. We handle inspection, repair, and replacement under one contractor relationship, so the person who diagnoses the problem is the same person who fixes it.
Huntington Beach Roofers offers free estimates in Huntington Beach. Call (833) 467-4901 to schedule yours.
Frequently Asked Questions
Small repairs like individual nail pops or minor pipe boot replacements typically run $150 to $350. Flashing work at dormers or chimneys usually falls between $400 and $800. Valley repairs and more involved structural work run higher. See our Roofing Cost Breakdown: The Huntington Beach Homeowner’s Reference for 2026 for detailed pricing. The only reliable way to price a repair is to find the actual failure first. Call (833) 467-4901 for a free estimate and an exact quote after inspection.
Multiple active leaks are more common than homeowners expect. If you see stains in different areas that appeared at different times, you likely have more than one entry point. A systematic roof inspection can map all current vulnerabilities rather than chasing them one by one as they appear. We inspect first, recommend second, so you get the full picture before spending on repairs.
Small, clearly identified problems like a single nail pop can be addressed by a careful homeowner with proper ladder safety. Anything involving flashing, valleys, ridge work, or tile is better left to a trained roofer. The risk of a failed DIY repair is continued water entry plus additional damage that the eventual pro must undo. If you have any doubt about the diagnosis, call (833) 467-4901.
A patch is a temporary measure that covers a symptom, like sealing over a visible crack. A repair addresses the underlying cause, such as replacing a failed flashing detail or installing a new pipe boot. Patches have their place in an emergency. Repairs are the long-term fix. We’ll tell you which one actually makes sense for your roof.
It depends on the repair and the overall roof condition. A pipe boot replacement on an otherwise sound roof should last a decade or more. A flashing repair on a roof that’s nearing replacement age may only buy a few years. The honest answer comes from a full inspection, not a rule of thumb. Match the material to the roof, not the other way around, and the repair will last as long as the surrounding roof allows.
Yes. Because we install products from seven leading manufacturers including GAF, CertainTeed, Owens Corning, IKO, Atlas, Tamko, and Boral, we can provide the brand-specific documentation that insurance adjusters often require. Single-vendor dependency isn’t a problem here. If one brand is backordered or ill-suited to your roof’s needs, alternatives are immediately available.
The Bottom Line
Roof leaks are a diagnosis problem, not just a repair problem. The water you see inside your Huntington Beach home almost never entered directly above the stain. Tracing the water to its actual entry point is the single most important step, and it’s the step that most DIY repairs skip. The five common failure points this guide covered are pipe boot seals, step flashing at dormers, ridge cap adhesion, valley metal laps, and nail pops. Know those, check those, and you’ll be ahead of most homeowners. Explore more guides & resources on our blog. If the diagnosis is unclear or the repair is beyond your comfort level, call a professional who inspects before they recommend. Seven brands. One contractor. From the first inspection to the final shingle, that’s the way roof repair should work. Call (833) 467-4901 for a free estimate.
Written by the team at Huntington Beach Roofers, serving Huntington Beach since 2018.
See the difference
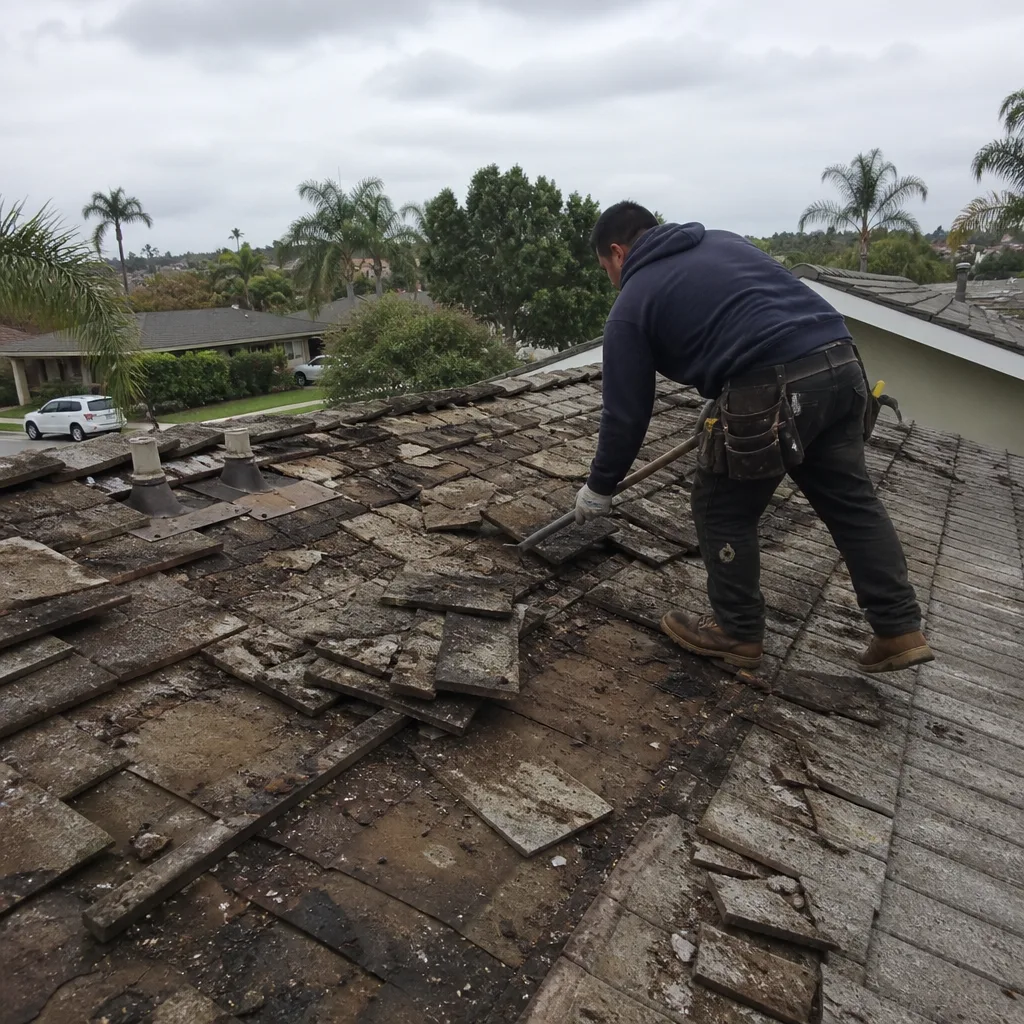
 Before
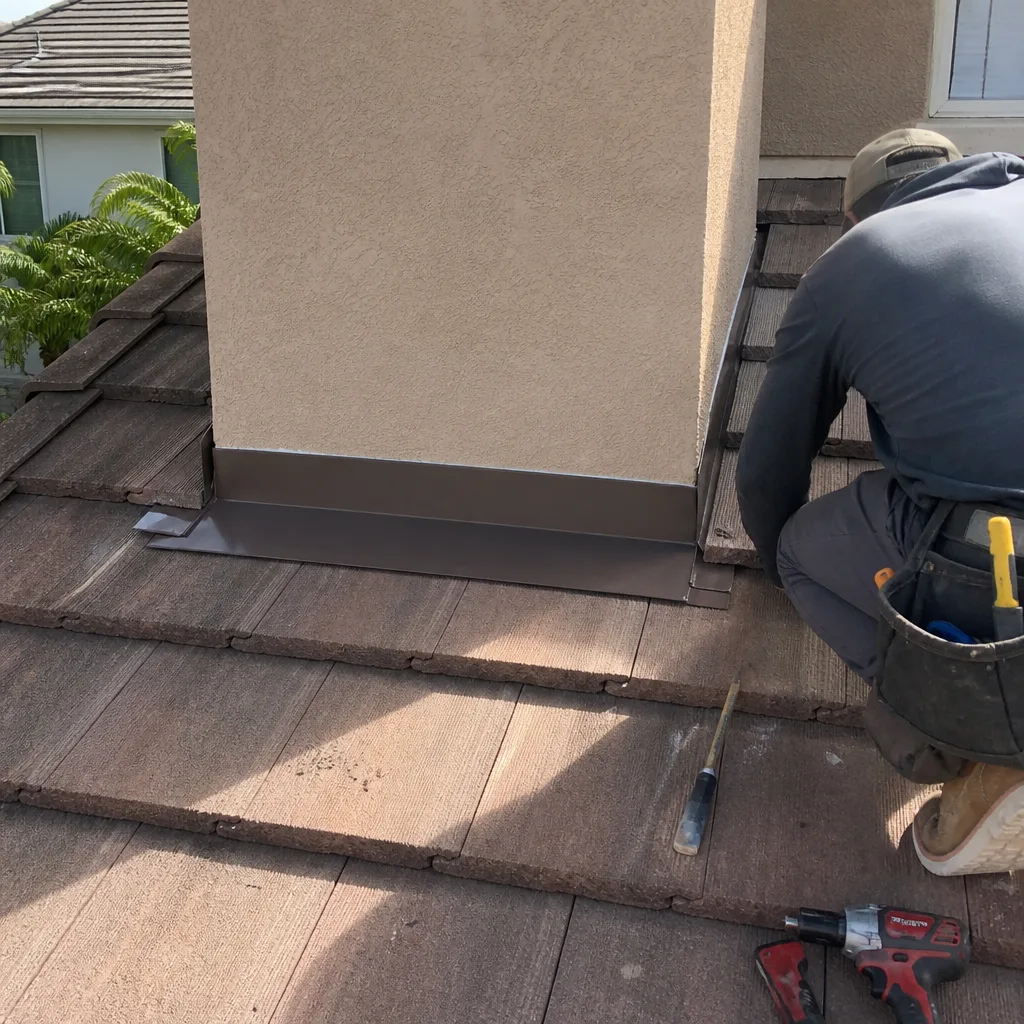
 After
 Before
 After
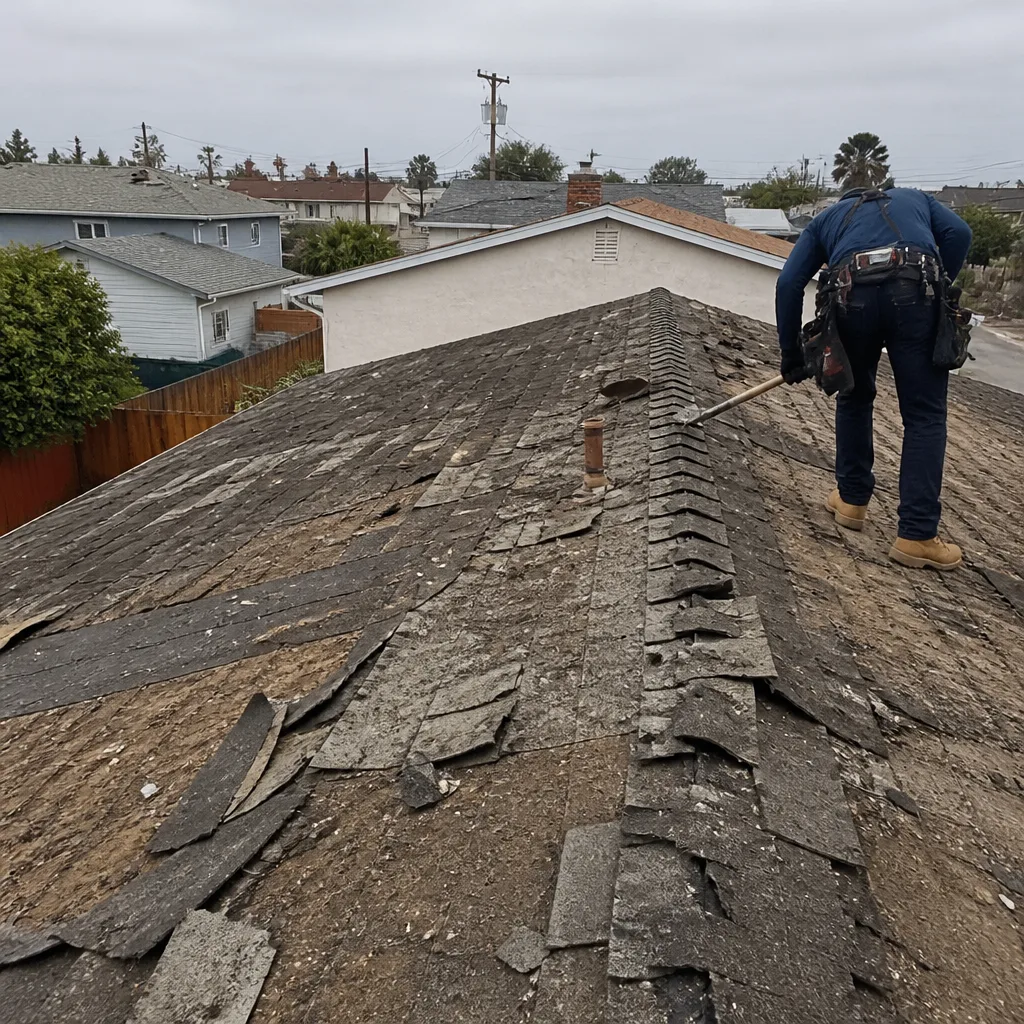 Before
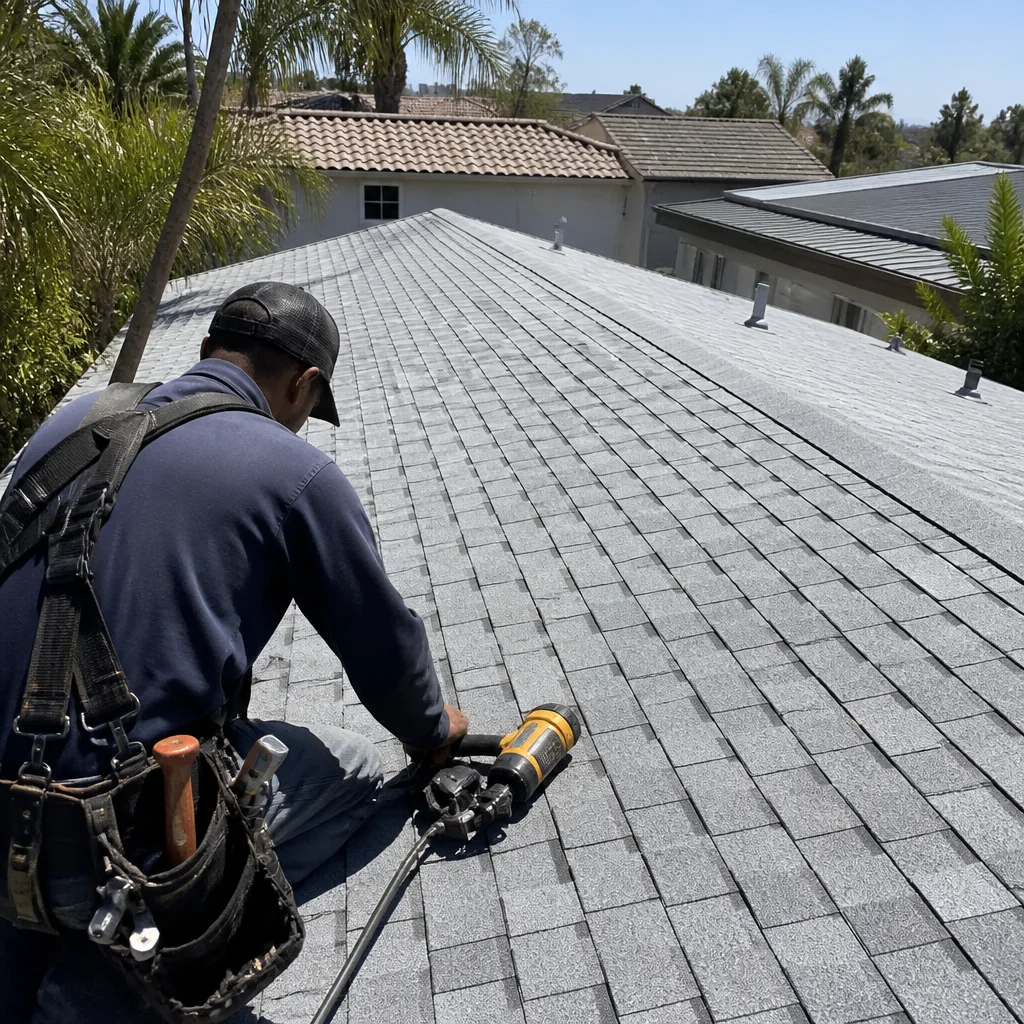 After