
Last updated October 31, 2026
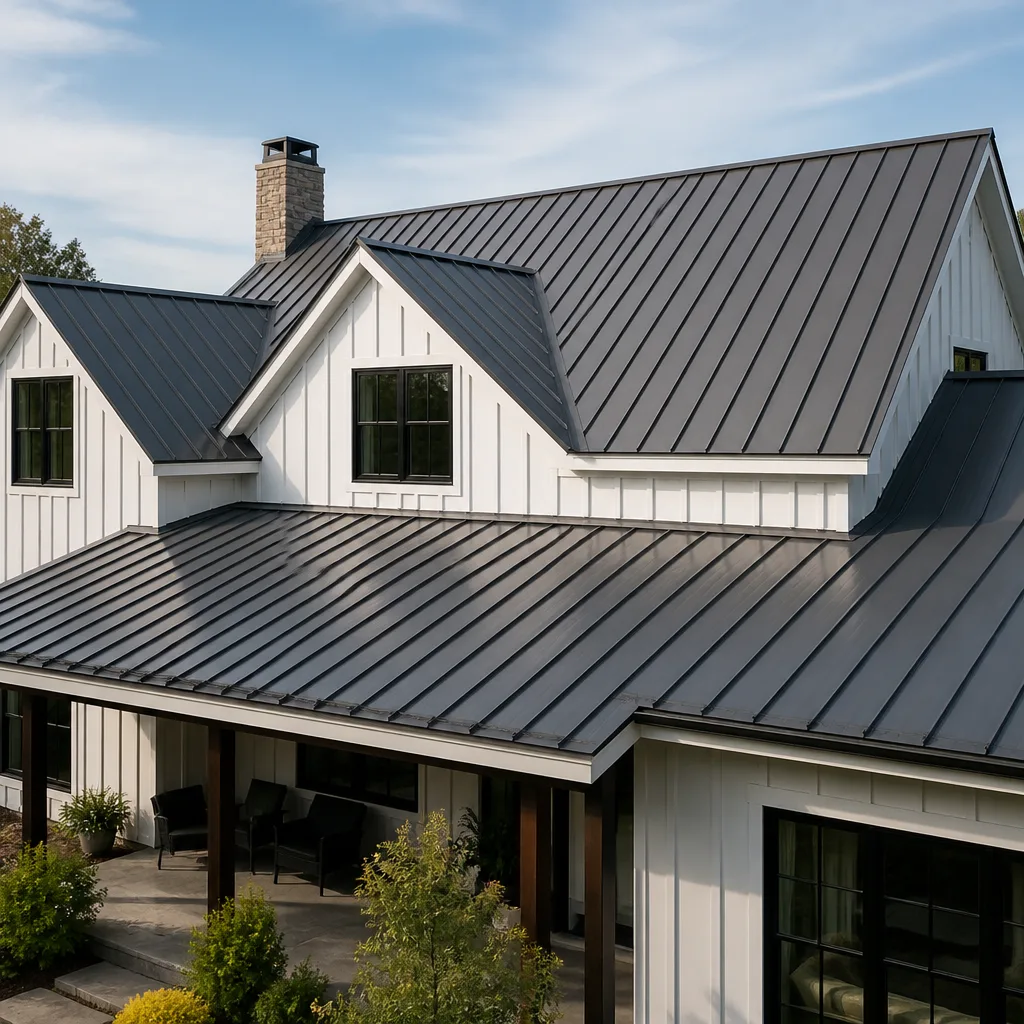 Metal roofing
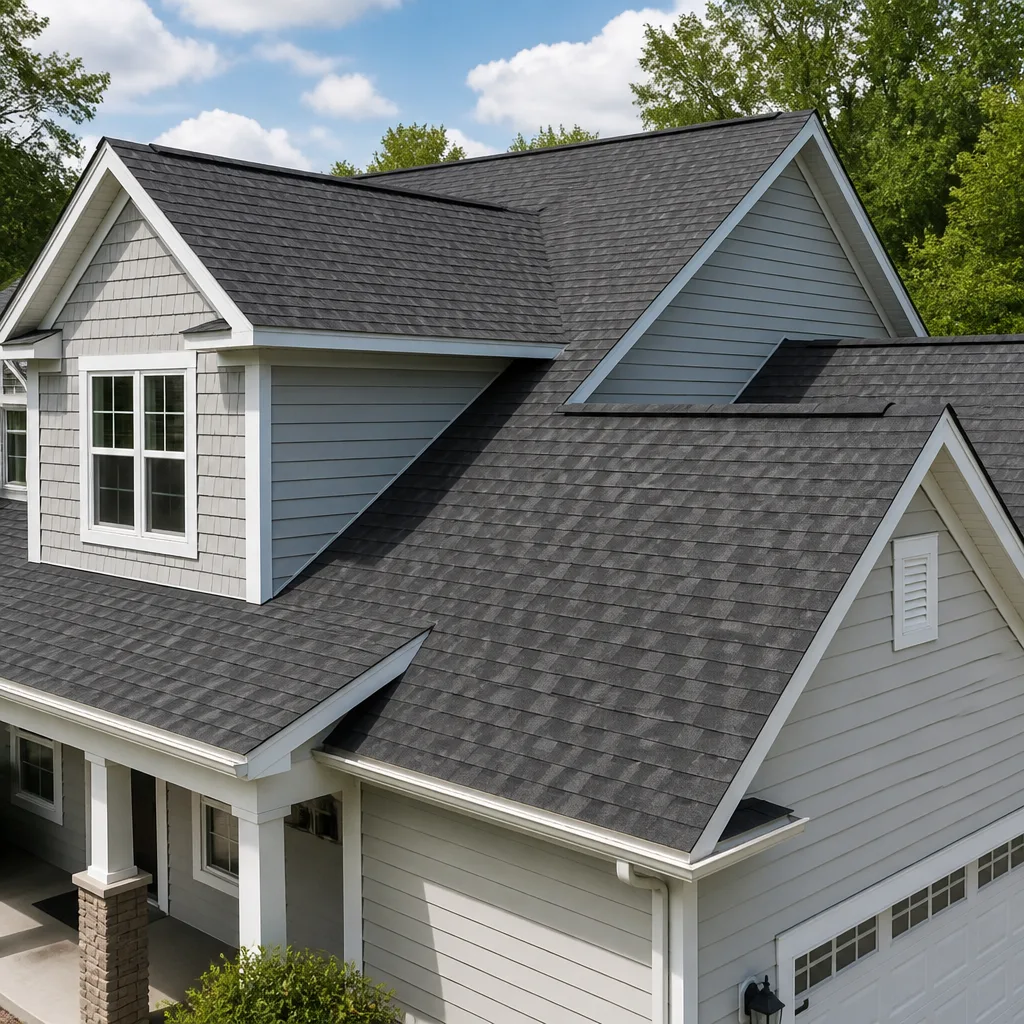 Architectural shingles
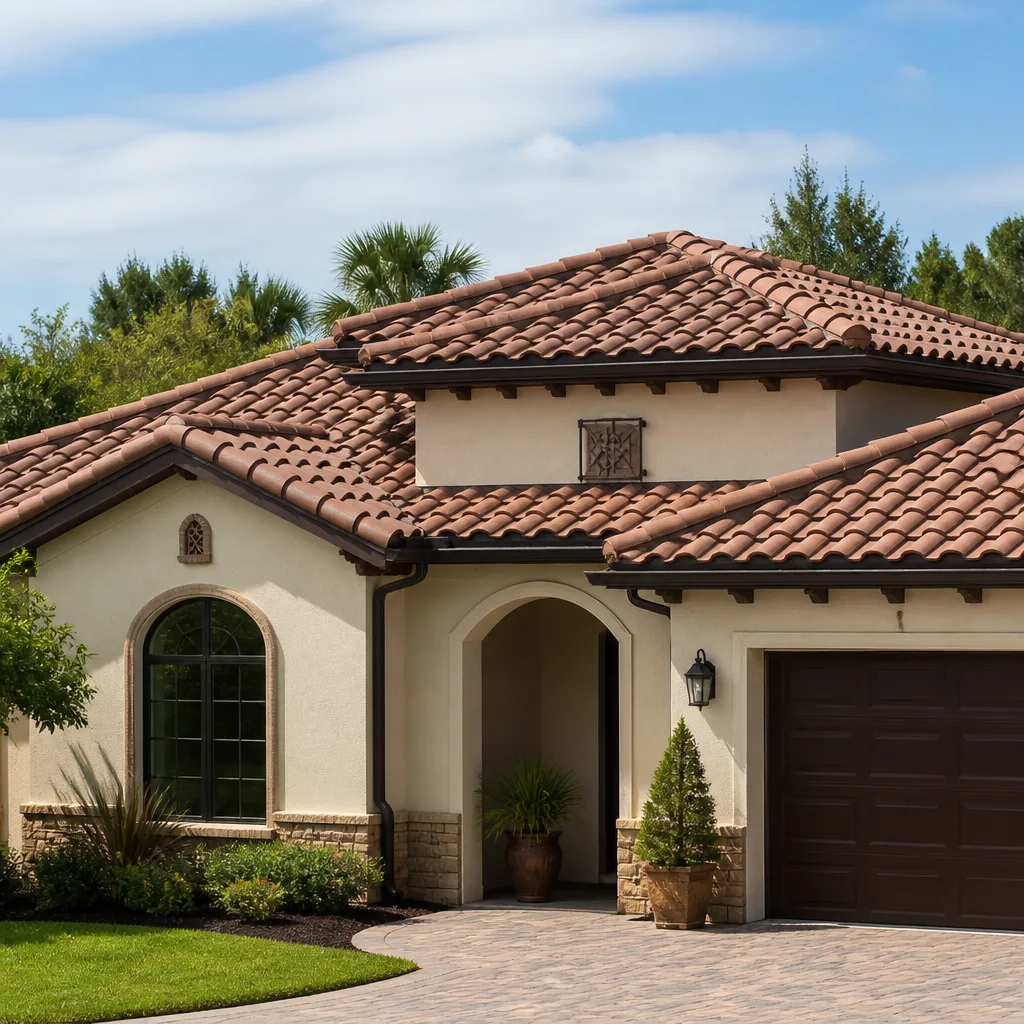 Tile roofing
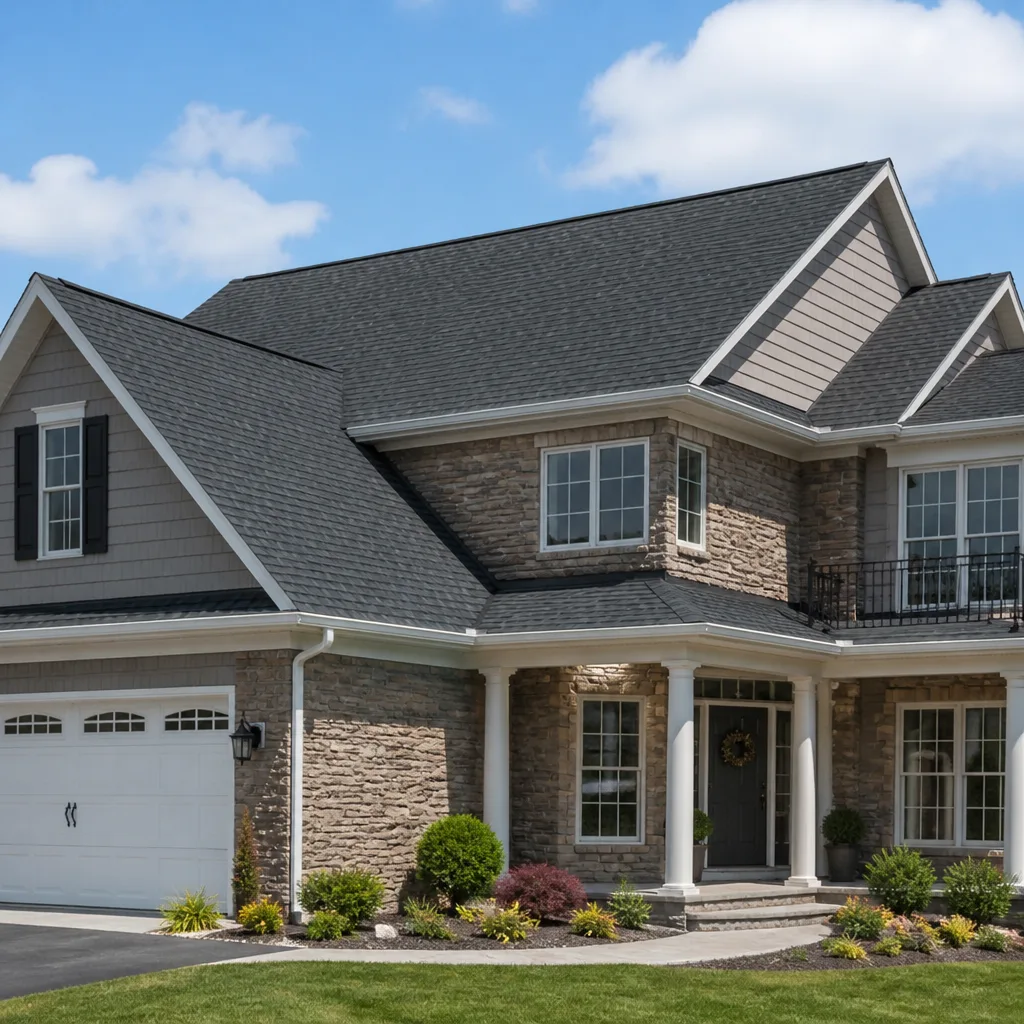 GAF
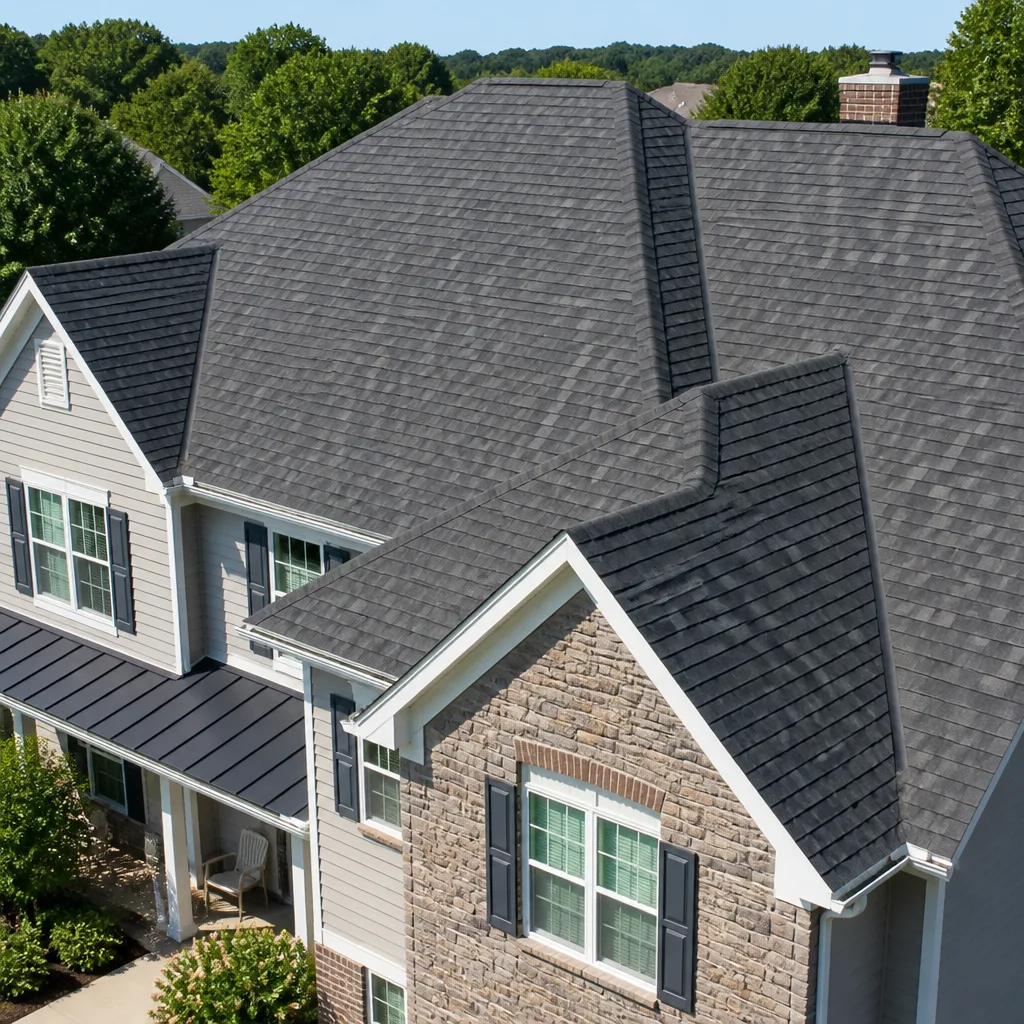 Owens Corning
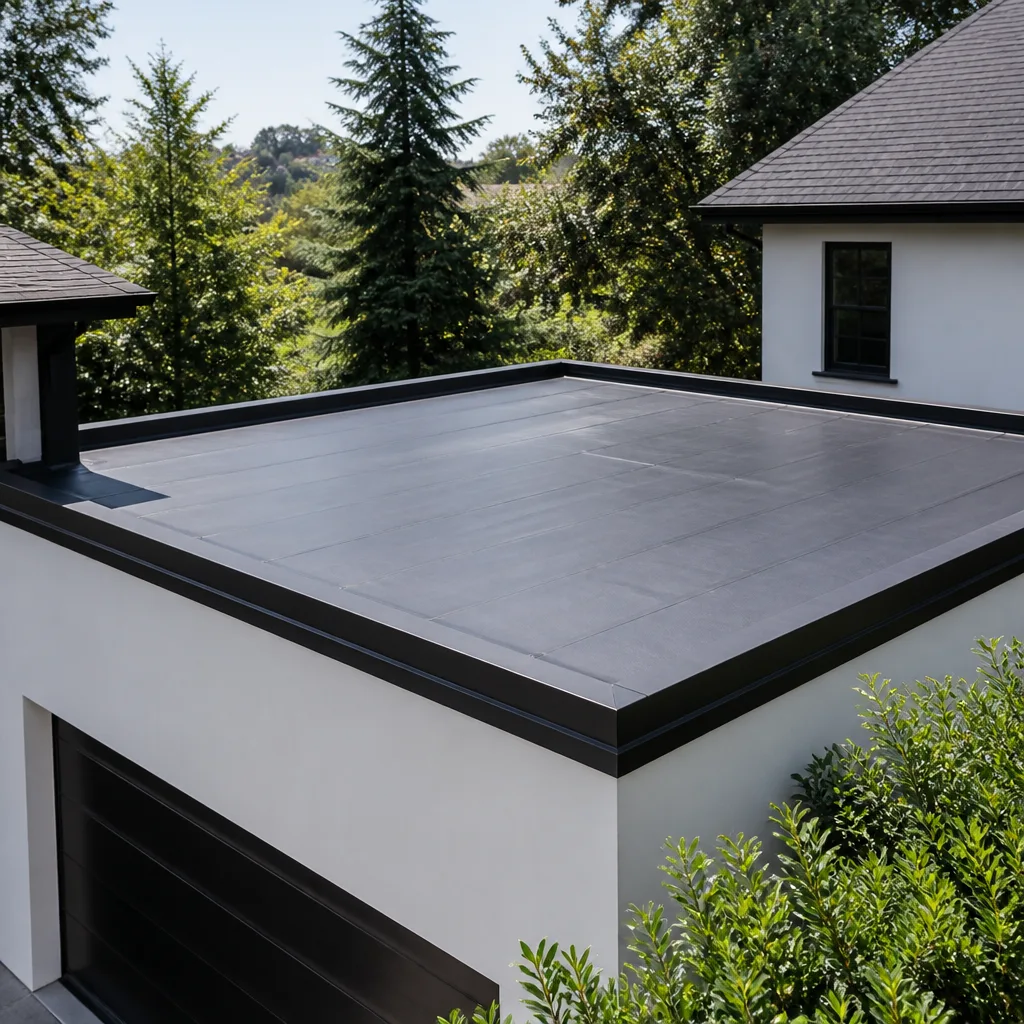 Flat & low-slope
Free roof inspection with deck photos before we talk money - GAF and Owens Corning certified installation
Roofing Emergency Preparedness Guide for Huntington Beach Homes
Most Huntington Beach homeowners don’t lose roofs to hurricanes. They lose them to a 36-hour Santa Ana wind event that peels back a corner of roofing, or to an atmospheric river that finds the one weak spot created by three years of deferred maintenance. The city’s coastal position creates a false sense of security: we don’t get the dramatic storm footage of the Gulf Coast, so we don’t think about roof emergencies until water is already coming through the ceiling. This guide changes that. You’ll learn the exact pre-storm checklist that takes under two hours, how to tarp a roof correctly so it survives 60 mph gusts, what your insurance company actually needs to see after damage, and how to spot a contractor who’s about to disappear with your deposit. This is the preparedness information most Huntington Beach homeowners don’t know they need until it’s too late.
Quick Answer
Roofing emergency preparedness in Huntington Beach means having a plan for two specific events: Santa Ana wind events that arrive with 36-48 hours of warning, and atmospheric river rain events that overwhelm roofs with hidden deferred maintenance. The most effective preparation is a visual inspection of ridge caps, tile courses, and gutter downspouts done before storm season, plus knowing how to document damage for insurance and how to tarp correctly if a section of roofing fails. Homeowners who complete a pre-storm checklist and understand the CSLB verification process for emergency contractors avoid the most common and costly outcomes: interior water damage, denied claims, and repair scams.
Styles & brands we work with
Table of Contents
- The Santa Ana Threat: Why Huntington Beach Roofs Fail Differently
- The Pre-Santa Ana Checklist: Two Hours That Prevent Most Wind Damage
- Atmospheric River Events: The Rain Threat Nobody Plans For
- How to Tarp a Roof Correctly: Anchor Points, Overlaps, and Ballasting
- Documenting Damage for Insurance: The Photo Sequence That Gets Claims Approved
- Vetting an Emergency Contractor Under Time Pressure: Two CSLB Checks in Five Minutes
- Interior Protection While You Wait: Minimizing Secondary Water Damage
- Common Mistakes to Avoid
- When to Call a Professional
- Frequently Asked Questions
The Santa Ana Threat: Why Huntington Beach Roofs Fail Differently
The National Weather Service typically issues a high wind watch 36 to 48 hours before Santa Ana conditions peak in Huntington Beach. That’s not a lot of time, but it’s enough to do three specific things that prevent the most common wind-damage outcomes we see in this city. The Santa Anas that hit Huntington Beach are not the same as the ones that hit the Inland Empire. By the time the wind reaches the coast, it’s been channeled through passes and canyons, creating gust patterns that are erratic and directionally unstable. A roof that survived the 2017 wind event without damage may fail in 2025 because the failure point was always there, just not loaded in the right direction yet.
The most common Santa Ana failure mode on Huntington Beach homes is not shingle peel-back. It’s ridge cap mortar failure on tile roofs, followed by lifting of the first course of tile at the eave line. These are not dramatic failures captured on news footage. They are incremental, and they are expensive. A single lifted ridge cap tile lets wind get under the adjacent tiles, and within an hour of sustained gusts, a ten-foot section of ridge can open up. Once the ridge is compromised, wind-driven rain follows in the next storm, and what started as a $300 mortar repair becomes a $4,000 interior remediation.
In our experience inspecting roofs after Santa Ana events in Huntington Beach, the homes with a documented inspection within the previous 18 months fare dramatically better than homes where the last roof inspection was at purchase. The reason is simple: a Roof Inspection in Huntington Beach catches the loose ridge cap and the cracked mortar joint before the wind does. The homes that fail are the ones where nobody looked at the ridge caps in five years.
Understanding the Santa Ana mechanism matters because it changes what you look for. You’re not looking for missing shingles in the field of the roof. You’re looking at the edges: ridges, hips, eaves, and rakes. These are the high-lift zones where wind pressure is highest and where installation details determine whether a roof holds or opens up. Huntington Beach homes built between 1960 and 1990, especially in the tracts around Adams Avenue and south of Warner, often have original mortar-set ridge tiles that have never been re-bedded. This is the highest-risk population for Santa Ana wind damage in the city.
The Pre-Santa Ana Checklist: Two Hours That Prevent Most Wind Damage
When the National Weather Service issues a high wind watch for Huntington Beach, you have roughly a day and a half before conditions deteriorate. Here is a checklist executable in under two hours that addresses the failure points we actually see after Santa Ana events. Do this in order. The first three items take 45 minutes combined. The fourth item is the one most homeowners skip, and it’s the one that matters most.
- Visual ridge cap inspection from the ground. Walk the perimeter of your home with binoculars. Look at the ridge line. You’re checking for cracked mortar joints, tilting ridge tiles, or gaps where the ridge cap meets the next tile. If you see daylight through the ridge, you have a problem. Do not climb onto the roof to inspect. The tiles are brittle, and the ridge is the most dangerous place on a tile roof to walk. A ground-level visual inspection is sufficient to identify obvious failures.
- Loose tile identification by reflection. Stand back from the house and look at the roof surface. Loose or lifted tiles catch light differently than properly set tiles. You’re looking for tiles that sit slightly higher than their neighbors, casting a shadow where there shouldn’t be one. The most common location for loose tiles is the rake edge, where the roof meets the gable end. This is also where wind load is highest during a Santa Ana event.
- Gutter downspout clearance. Clear leaves, eucalyptus bark, and any visible debris from gutter strainers and downspout openings. A clogged downspout during a high-wind event with any accompanying moisture means water backs up into the fascia and under the eave. The wind drives water horizontally in ways normal rain does not. A clear downspout is the difference between wet stucco and a flooded soffit cavity.
- Document the current condition with photos. Take 20-30 photos of your roof from all four elevations, plus close-ups of any areas you flagged as suspicious during the inspection. Date-stamp them. These photos become your baseline if the wind event causes damage and your insurance company asks whether the damage was pre-existing. Having a documented pre-event baseline is the single most useful thing you can do for a future claim.
If you find a problem with 24 hours to the event, here’s what to do and what not to do. Do not attempt a repair yourself. Santa Ana winds don’t wait for you to finish re-mortaring a ridge cap. What you should do is three things: call a licensed roofing contractor and document that you called, take photos of the specific defect, and place a tarp over the affected area if it’s safe to do so from a ladder. A tarp installed before the wind event with proper anchoring will prevent the defect from becoming a failure. A tarp thrown over the ridge 20 minutes before gusts hit will become a sail and cause more damage than the original defect.
We recommend making this checklist part of your annual routine in September, before Santa Ana season typically begins in Huntington Beach. If you complete it in calm weather, you won’t be rushing through it with 36 hours of lead time. And if you find something during the calm-weather inspection, you have time to schedule a proper repair through a Roof Repair in Huntington Beach rather than relying on an emergency patch.
Atmospheric River Events: The Rain Threat Nobody Plans For
Huntington Beach averages around 12 inches of rain per year, but atmospheric river events can deliver a third of that in 48 hours. These are not thunderstorms that pass through in an afternoon. They are sustained, moisture-dense systems that sit over the coast and deliver continuous rain at rates that overwhelm roofs with compromised drainage or degraded underlayment. The failure mode is different from wind damage. Santa Anas tear roofs open. Atmospheric rivers find the path through.
The specific risk to Huntington Beach homes is that our dry climate encourages deferred maintenance. Unlike Seattle or Portland homeowners, who live with constant moisture and learn to think about their roofs continuously, coastal Orange County homeowners can go years without rain and forget that their roof is a system that degrades on a schedule regardless of whether it’s being rained on. The UV exposure and salt air in Huntington Beach break down underlayment and flashing even in dry years. When the atmospheric river finally arrives, the roof that looked fine in August leaks in February, and the homeowner is shocked because “it didn’t rain all year.”
The most common atmospheric river failure we see in Huntington Beach is at pipe jack flashings and valley metal. Pipe jacks are the rubber boots that seal around plumbing vent pipes. In coastal environments, the rubber degrades from salt air and UV exposure and cracks. During a normal rain, a cracked pipe jack might seep slowly enough that you never notice. During an atmospheric river, the volume of water running down the roof surface means that seep becomes a stream, and the stream finds the hole in the ceiling.
- Inspect pipe jack flashings annually. Look for visible cracks in the rubber boot, separation between the boot and the pipe, or rust on the metal base. If the rubber is chalky or cracked when you touch it, it needs replacement. This is a $75 repair that prevents a $2,000 ceiling replacement.
- Check valley metal for rust-through. The valleys where roof planes intersect carry more water volume than any other part of the roof. In Huntington Beach’s salt air, galvanized valley metal corrodes faster than in inland communities. Rust stains on the roof surface below the valley line indicate the metal is oxidizing from the inside out.
- Verify that scupper openings and overflow drains are clear. If your home has a flat roof section or a parapet detail, the scuppers are the emergency overflow system. When they clog, water ponds on the roof deck, and ponding water finds its way through any imperfection in the roofing membrane.
The pattern we see repeatedly in Huntington Beach after atmospheric river events: a homeowner calls us for a Roof Repair in Huntington Beach, we inspect, and we find that the leak originated at a flashing detail that was last touched when the roof was installed 20 years ago. The roof deck in the immediate area is rotted. The insulation is saturated. What would have been a $400 flashing repair before the storm becomes a $4,000 deck repair and interior patch after the storm. The rain didn’t cause the damage. The rain revealed the damage that time and deferred maintenance created.
How to Tarp a Roof Correctly: Anchor Points, Overlaps, and Ballasting
Emergency tarping is the most misunderstood protective measure in roofing. The standard homeowner approach is to throw a blue tarp over the damaged area, put a few bricks on it, and hope for the best. This approach survives approximately 20 minutes in a 40 mph gust. In a Santa Ana event, the tarp peels off, becomes a projectile, and causes secondary damage to neighboring homes. A correctly installed tarp is not difficult, but it requires understanding three principles: anchor points, overlap, and ballasting.
Before going further, a safety caveat that matters: if the damage requires accessing a roof that is steep, wet, or structurally compromised, or if it involves working near the ridge line where a fall is possible, hire a professional. Falls from roofs are the leading cause of roofing-related fatalities, and an emergency tarp is not worth your life. The instructions below assume a low-slope or moderate-slope roof accessible by a stable ladder, in dry conditions, with the work area well away from the edge. If any of those conditions is not met, wait for professional help.
The anchor point principle. A tarp does not stay on a roof because it’s heavy. It stays on a roof because the leading edge is anchored. The leading edge is the edge the wind hits first. On a Santa Ana event with northeast winds, the leading edge is the northeast-facing eave. If you anchor only the trailing edge, the wind gets under the tarp from the leading edge and lifts the whole assembly like a parachute. Create anchor points by securing furring strips or 2x4s along the leading edge and screwing them through the tarp into the roof deck. Do not anchor into shingles or tile. Anchor into the deck sheathing beneath the roofing material. This requires temporarily lifting the shingle or tile course at the anchor point, which is why this work is best done by a professional with the right fasteners and sealant.
The overlap principle. If the damaged area is larger than one tarp, or if the tarp must extend to the ridge line, the overlap between tarp sections must be a minimum of 12 inches, and the uphill tarp must lap over the downhill tarp. This is the same principle as shingle installation: water flows downhill, and any seam that faces uphill becomes a water intake point. We’ve seen tarps installed with the overlap reversed, and the result is that the overlap seam collects water and channels it directly under the tarp, making the situation worse than no tarp at all.
The ballasting principle. Ballast is weight placed on top of the tarp to keep it from flapping. Flapping is the enemy. A tarp that flaps even slightly is working against its own fasteners, loosening them over time. The correct ballasting method is to use sandbags or 2×4 lumber placed in a grid pattern across the tarp, not bricks placed around the perimeter. Bricks on the perimeter create point loads that can crack tile or shingles. They also leave the center of the tarp free to billow. A grid pattern of ballast keeps the entire tarp surface pinned to the roof deck, which prevents wind from getting underneath in the first place.
One more point that most guides omit: tarping is a temporary measure, and it has a lifespan. A properly installed tarp will last 30 to 90 days in Huntington Beach’s UV and salt air environment. After 90 days, the tarp fabric degrades, the anchor points loosen, and the tarp becomes a liability. If your roof is tarped, schedule the permanent repair within that window. A Roof Replacement in Huntington Beach may be the correct long-term solution if the damage is extensive, but even a full replacement starts with a correctly installed temporary tarp that keeps the interior dry while materials are ordered and the project is scheduled.
Documenting Damage for Insurance: The Photo Sequence That Gets Claims Approved
Insurance adjusters are trained to look for reasons to apply exclusions, and the most common exclusion cited in roofing claims is “pre-existing condition.” The phrase appears in most HO-3 policies and means that damage present before the covered event is not covered. The burden of proof falls on the homeowner. If you cannot demonstrate that the damage occurred during the wind event or rain event, the adjuster may classify it as pre-existing and deny the claim. The solution is documentation.
The specific photo sequence that works:
- Exterior wide shots first. Stand at the street in front of your home and photograph the entire roof from each of the four cardinal directions. These shots establish the context. The adjuster needs to see the whole roof before zooming into details.
- Exterior close-ups of all visible damage. Photograph every area where you believe the event caused damage. Include a scale reference in each photo. A tape measure, a yardstick, or even a common object placed in the frame gives the adjuster a sense of the damage size.
- Interior wide shots. Photograph the ceiling or wall where water entered from a distance that shows the entire affected area. Then photograph the same area up close to show the water staining, bubbling, or cracking.
- Date and time stamps. Most smartphones embed date and time metadata in the photo file. If yours does not, take a photograph of a newspaper or a phone screen showing the date alongside the damage. The timestamp matters because it establishes that the damage occurred during the event window.
- Photograph your cleanup efforts. If you place a bucket under a leak, photograph it. If you move furniture, photograph the room before and after. These photos demonstrate that you took reasonable mitigation steps, which most policies require. Failure to mitigate can reduce the claim amount even if the damage itself is covered.
If you have a roof inspection report from before the event, that document is gold. A Roof Inspection in Huntington Beach that documents the roof’s condition before the storm creates a baseline that makes the adjuster’s “pre-existing condition” argument much harder to sustain. We recommend an inspection every 12 to 18 months for exactly this reason. The report is evidence. The photos are evidence. The combination makes your claim defensible.
Vetting an Emergency Contractor Under Time Pressure: Two CSLB Checks in Five Minutes
Post-disaster contractor fraud follows a predictable pattern. After a significant wind or rain event in Huntington Beach, out-of-town contractors appear, knock on doors, and offer immediate repairs at prices that seem reasonable. Some are legitimate. Some are not. The ones who are not share common characteristics: they ask for full payment upfront, they don’t have a physical business address, and they use pressure tactics that exploit the homeowner’s fear of further damage.
The State of California requires all roofing contractors to be licensed by the Contractors State License Board (CSLB). The CSLB website allows you to verify a license in under two minutes. The two checks that catch the most common fraud scenarios:
- License status. Go to cslb.ca.gov and enter the license number the contractor provided. The license must be active, not suspended or expired. An active license means the contractor has met the state’s experience and examination requirements and carries the required bond and workers’ compensation insurance. A suspended license means the contractor cannot legally perform roofing work in California. This check takes one minute.
- Business address match. On the same CSLB page, you’ll see the business address the contractor registered with the state. Compare it to the address on the contractor’s business card or website. If the addresses don’t match, or if the contractor cannot produce a physical address, that’s a red flag. A legitimate Huntington Beach roofing contractor will have a stable, verifiable business address. This check takes one minute.
Beyond the CSLB checks, there are behavioral signals that identify fraud attempts. Any contractor who asks for more than a 10% down payment or $1,000, whichever is less, before starting work is violating California law. Any contractor who offers to waive your insurance deductible is committing insurance fraud and making you complicit in it. Any contractor who says the work must start today or the offer expires is applying pressure that legitimate contractors don’t need to apply.
The seven-brand portfolio that Huntington Beach Roofers home carries matters in emergency situations because it means we can source materials quickly without being reliant on a single manufacturer’s supply chain. If one brand is backordered, we have alternatives from GAF, CertainTeed, Owens Corning, IKO, Atlas, Tamko, and Boral. In an emergency repair, material availability is often the critical path, and brand breadth shortens that path.
Interior Protection While You Wait: Minimizing Secondary Water Damage
Water that enters through the roof causes two types of damage: primary damage to the ceiling, walls, and floors directly in the water’s path, and secondary damage that occurs while the water sits. Secondary damage is often more expensive than primary damage because it involves insulation saturation, mold growth, and structural deterioration that occurs over days, not hours. Proper interior protection while you wait for repair is about controlling where the water goes and minimizing the surface area it can saturate.
The specific steps:
- Relocate the collection point if water is pooling. Water that pools on a ceiling membrane will eventually break through. The classic mistake is placing a bucket under the stain and walking away. The water pools above the stain, saturates the drywall or plaster, and then the whole ceiling section comes down. If the water is pooling, use a screwdriver or awl to puncture a small hole at the lowest point of the visible bulge. This creates a controlled drainage point and prevents the water from spreading across the ceiling cavity. Place the bucket under the puncture hole, not under the original stain.
- Protect the floor surface. Water will find the lowest point and pool there. If the leak is over a hardwood floor, place a waterproof tarp or plastic sheet on the floor and weigh it down. Do not place towels directly on hardwood. Towels absorb water but remain wet against the wood surface, and the constant moisture contact is worse than occasional dripping. A plastic sheet channels the water to a collection point where you can manage it.
- Open the affected area if you have attic access. If you can safely access the attic, place a tarp or heavy plastic sheet over the insulation in the area below the leak. The goal is to keep the insulation dry. Wet fiberglass insulation loses its R-value and must be replaced. Wet insulation also holds moisture against the ceiling framing, which promotes mold growth in the framing cavities. A $10 plastic sheet prevents a $2,000 insulation replacement.
- Run a dehumidifier if you have one. After the leak stops, the moisture that has already been absorbed into the drywall and framing begins to evaporate into the living space. A dehumidifier accelerates this process and reduces the window for mold growth. Mold requires sustained moisture to establish. If you can dry the affected area within 48 hours, mold is unlikely to take hold. If the area stays wet for a week, mold is nearly guaranteed.
These measures buy you time. They don’t replace professional repair. The interior protection steps above are mitigation, not remediation. The roof still needs to be repaired, and the saturated building materials still need to be assessed by someone who understands moisture migration in coastal construction. In Huntington Beach’s humid coastal air, the drying timeline is longer than in inland communities, which means the mold growth window is shorter. Act accordingly.
Materials matter in the repair phase, too. When we repair or replace a roof after water damage, we recommend materials based on the specific failure that occurred. If the original shingles failed due to a manufacturer defect, a warranty claim may be possible with the same brand. If the original roof was under-ventilated, we might recommend a different configuration. Seven brands, one contractor: the recommendation follows the roof’s needs, not the contractor’s inventory. Atlas shingles with their higher wind ratings may make sense for a home that experienced wind-related failure. Tamko’s product lines span multiple price points for homeowners repairing on a budget after an unexpected claim. IKO’s product documentation supports insurance claims that require brand-specific paperwork. The point is that the material decision in Huntington Beach should be driven by the specific exposure, the specific failure mode, and the homeowner’s budget, not by whatever the contractor happens to stock.
Common Mistakes to Avoid
- Ignoring the high wind watch. The 36-48 hour warning window for Santa Ana events is real, and it’s enough time to complete the checklist above. The most expensive wind-damage claims we see in Huntington Beach are from homeowners who knew a wind event was coming and did nothing. The cost of an hour of preparation is trivial compared to the cost of a new roof section.
- Walking on a tile roof to inspect it. Tile roofs are not designed for foot traffic. Huntington Beach homes with concrete tile roofs from the 1970s and 1980s have tiles that are brittle from decades of UV exposure. Walking on the ridge to inspect the ridge caps is how ridge cap damage gets worse before it gets fixed. Use binoculars from the ground.
- Tarping incorrectly and making the damage worse. A tarp that peels off in a Santa Ana event becomes a projectile that can break windows, damage neighboring roofs, or tear off additional shingles from your own roof. If you cannot anchor the tarp properly into the roof deck, don’t tarp at all. Wait for a professional.
- Waiting to file the insurance claim. Most policies have notification deadlines. The policy requires the homeowner to notify the insurance company “promptly” after discovering damage. Waiting weeks to report means the adjuster has a legitimate reason to question whether the damage occurred when you said it did. Report the claim within 48 hours of discovering the damage.
- Accepting the first adjuster’s estimate without a contractor’s review. Insurance adjusters estimate repair costs using software that may not reflect local Huntington Beach material and labor costs. An experienced roofing contractor can review the estimate and identify line items that are under-scoped. You are not required to accept the first offer. You are entitled to submit a competing estimate from a licensed contractor.
- Choosing a contractor based on availability rather than verification. The contractor who can start today is not necessarily the contractor who should. Post-disaster, the contractors with open schedules often have open schedules for a reason. Verify the CSLB license. Check that the business address matches. A contractor who is booked out a week is often booked out because they do good work and have a stable local reputation in Huntington Beach.
When to Call a Professional
Call a professional roofer in Huntington Beach when: water is entering the living space through the ceiling or walls, you see daylight through the roof deck from inside the attic, a section of roofing has lifted or detached during a wind event, or you find multiple areas of damage after an atmospheric river event. Any of these conditions indicates a failure that goes beyond what a homeowner can safely or effectively address with temporary measures. A professional inspection identifies the full extent of the damage, which is rarely limited to the visible area. Roof leaks travel, and the point where water appears in the ceiling is often not the point where water enters the roof. Huntington Beach Roofers offers free estimates in Huntington Beach, covering the full cycle from Roof Inspection in Huntington Beach through repair or Roof Replacement in Huntington Beach. Call (833) 467-4901 to schedule.
Frequently Asked Questions
Emergency roof repair in Huntington Beach typically costs between $350 and $1,500 depending on the scope, with tarping services ranging from $200 to $500. The final cost depends on the damage extent, the roofing material, and whether the repair is temporary or permanent. Call (833) 467-4901 for an exact quote, estimates are free.
Same-day emergency tarping and temporary leak mitigation is available in Huntington Beach, and permanent repairs are scheduled as quickly as material availability allows. The critical first step is stopping the active water entry, which a properly installed tarp accomplishes. Call (833) 467-4901 to schedule an emergency assessment.
Most HO-3 homeowner’s policies cover wind damage as a named peril, but the claim’s success depends on demonstrating that the damage occurred during the event window and was not pre-existing. Document the roof’s condition with photos before storm season, and photograph all damage within 24 hours of the event. The “pre-existing condition” exclusion is the most common reason wind damage claims are denied or reduced.
A correctly installed roof tarp in Huntington Beach lasts 30 to 90 days, with the variability driven by UV exposure, salt air, and wind events. After 90 days, the tarp fabric degrades and the anchor points loosen, making the tarp a liability rather than protection. Schedule the permanent repair within that window.
Permit requirements in Huntington Beach depend on the repair scope and the roofing material. Minor repairs that do not alter the roof system typically do not require permits, while replacements and structural repairs do. A licensed contractor can tell you definitively whether your specific project requires a permit based on the city’s current code. Call (833) 467-4901 for guidance on your specific situation.
The repair-versus-replace decision depends on the damage extent, the roof’s age, and the underlying deck condition, which a standalone Roof Inspection in Huntington Beach can determine. If the damage is limited to a small area and the roof deck is sound, repair is appropriate. If the deck is saturated or the damage covers a significant percentage of the roof surface, replacement is usually more cost-effective. We inspect first, recommend second.
The Bottom Line
Roofing emergencies in Huntington Beach are not random events. They are the predictable consequence of two specific weather patterns intersecting with deferred maintenance. Santa Ana wind events attack the edges of the roof: ridges, hips, eaves, and rakes. Atmospheric river events find the hidden failures: flashing details, valley metal, and underlayment that degraded during dry years. The preparation is specific and executable: inspect the ridge caps before wind season, clear the downspouts before rain season, document your roof’s condition with photos, and know how to verify a contractor’s license before you ever need one. The homeowner who completes a Roof Inspection in Huntington Beach before storm season, knows how to tarp correctly if damage occurs, and documents everything for the insurance claim is the homeowner who gets through the event with minimal cost and stress. The homeowner who waits to think about it until water is coming through the ceiling pays three times more for the same repair.
Written by the team at Huntington Beach Roofers, serving Huntington Beach since 2018.
See the difference
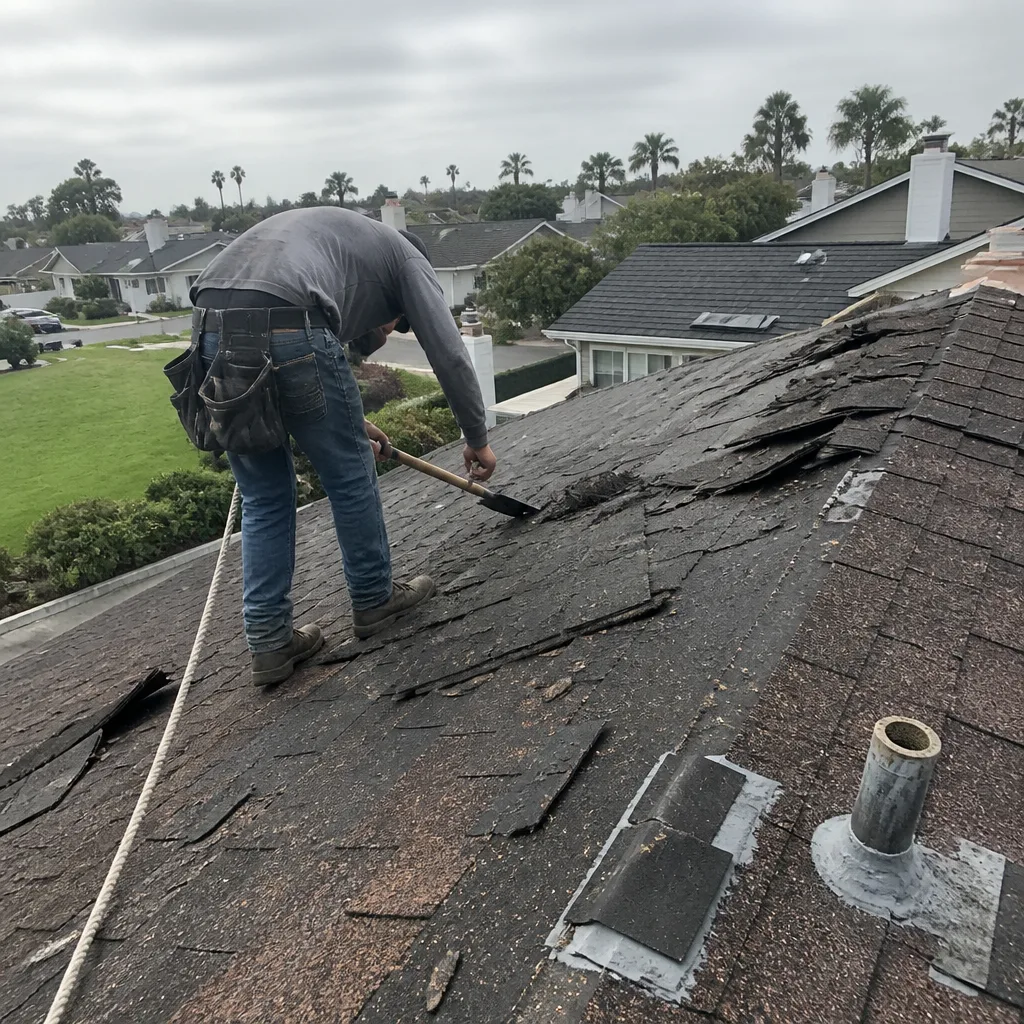 Before
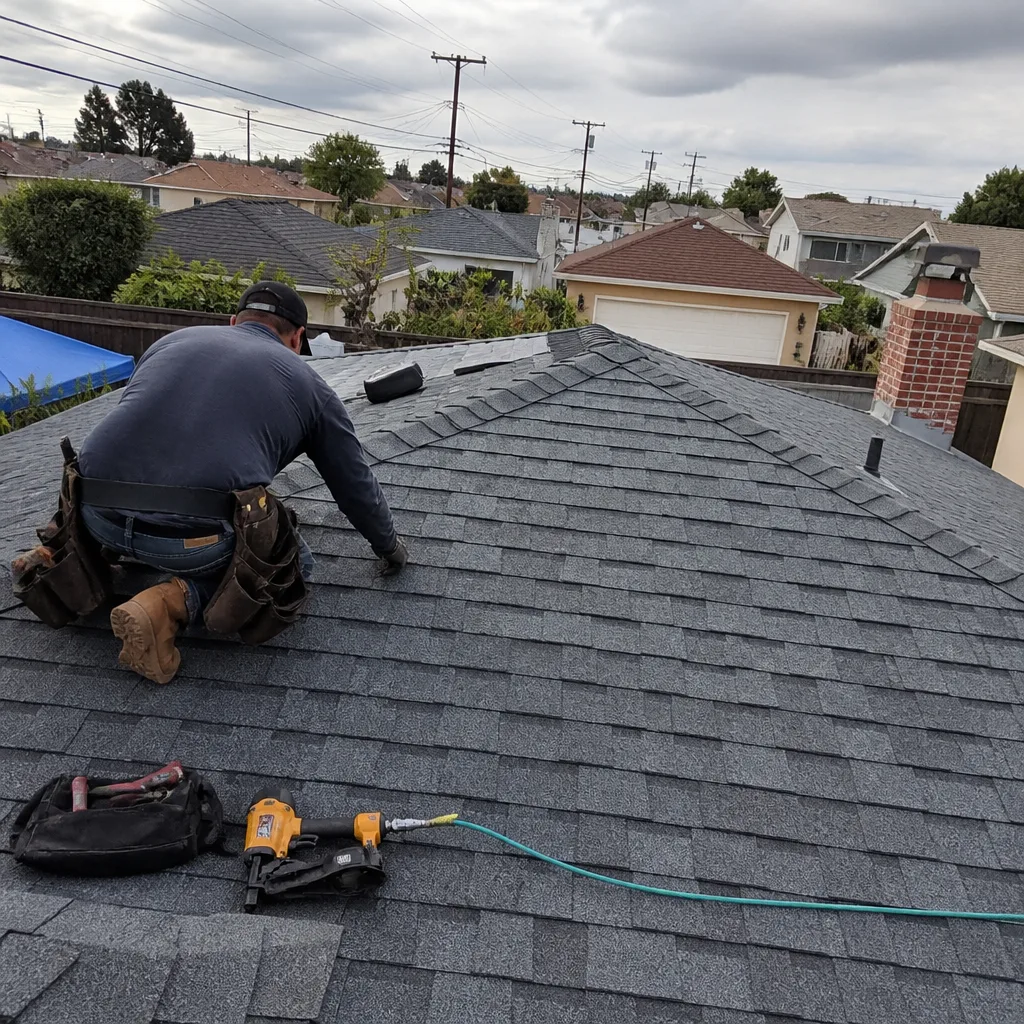 After
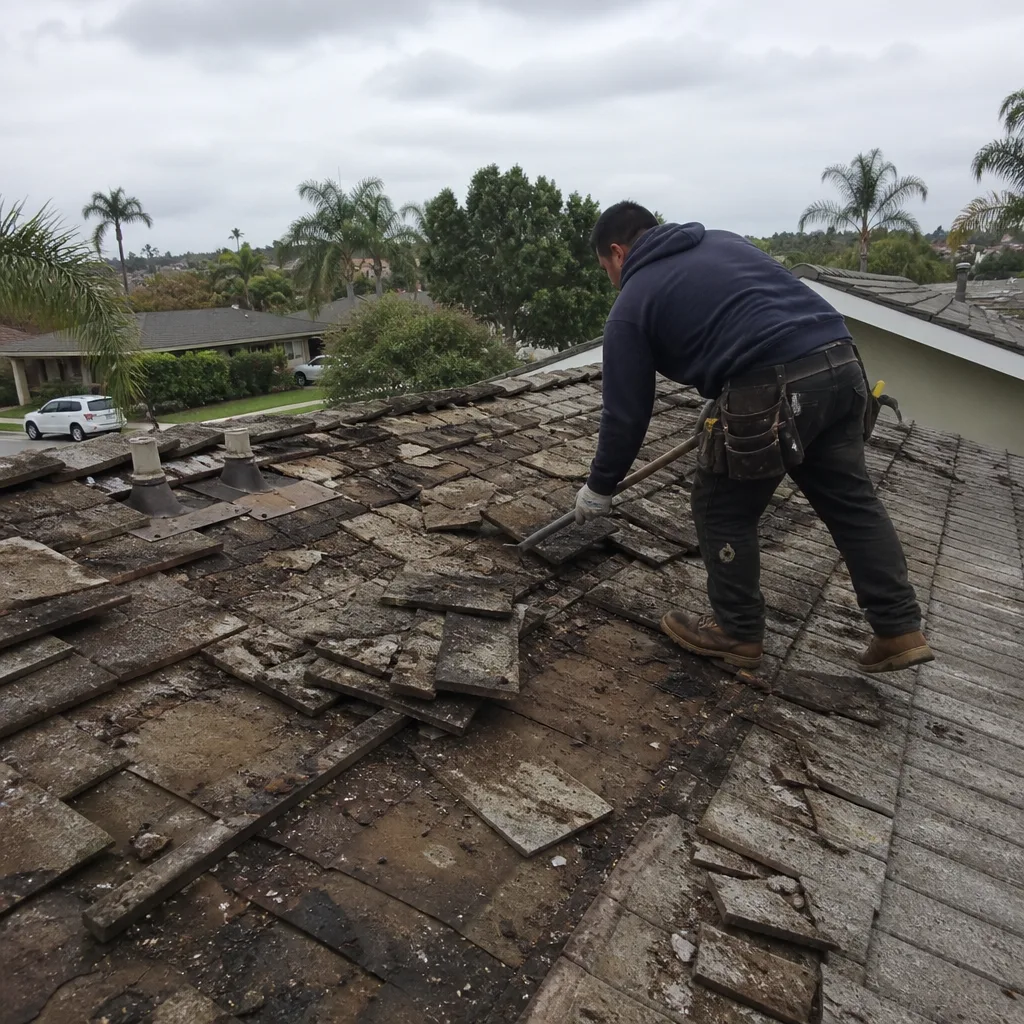 Before
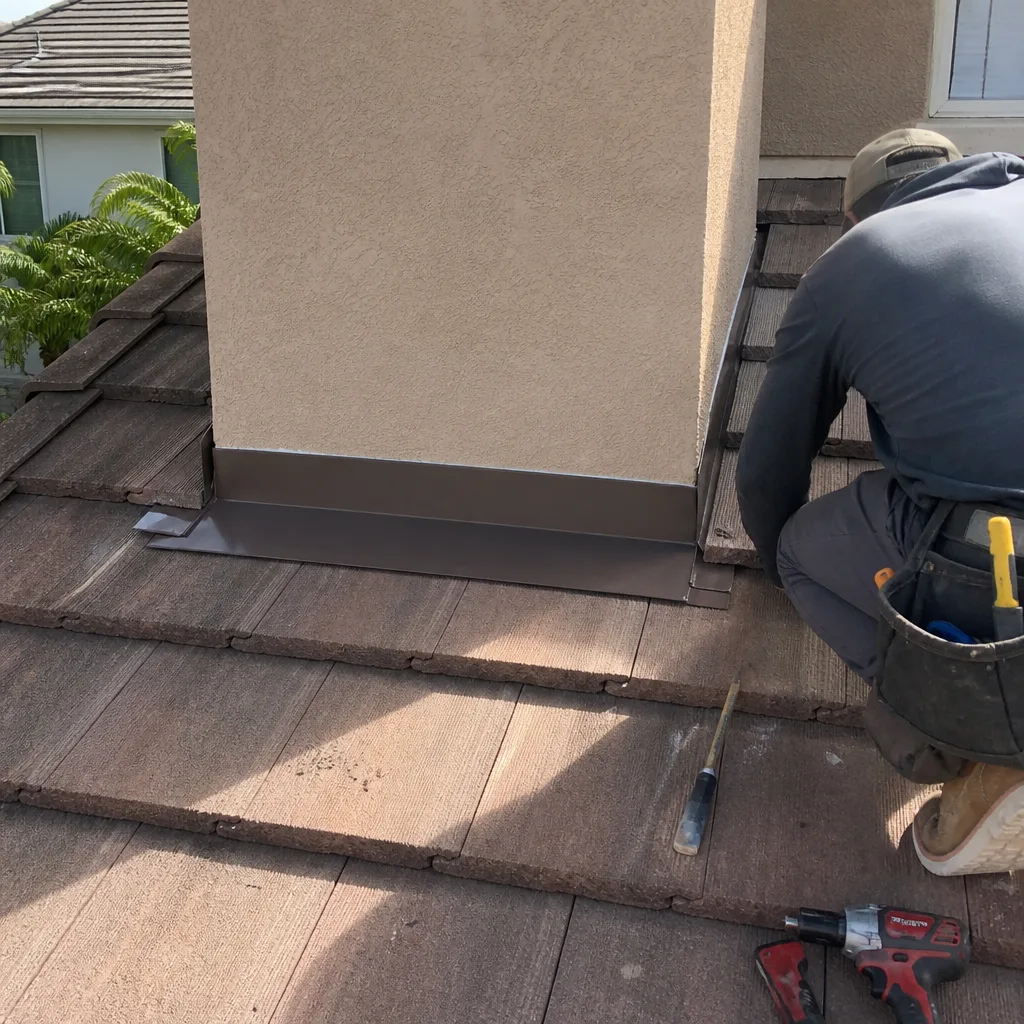 After
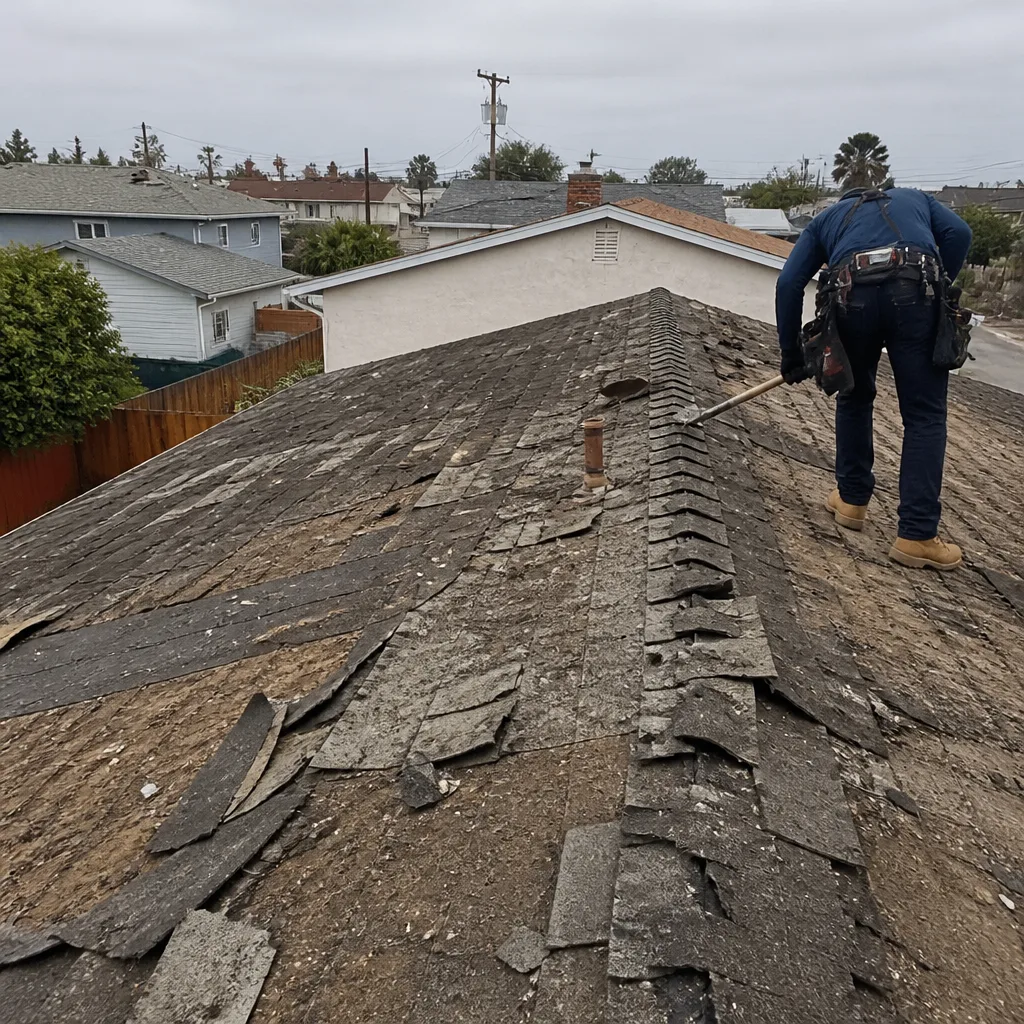 Before
 After